Phase 1
I call this Phase 1 only because I'm sure we will eventually change things up.
This is something we have wanted to do for a very long time. This is not a complete conversion, meaning we have left many things out that we are not ready for yet, such as the expense and maintenance of an electrical system. This was built mainly as an overnighter or a Bed and Breakfast for weekend trips or if we just wanted to jump in the van and go without any plans.
If you have come here looking for detailed instructions this is not the post you are looking for. If you have any questions you can ask in the comment section and I will try to answer as best I can remember.
We purchased a 2019 GMC Savana.

We started with the flooring.
We first put down a layer of insulation, then plywood and installed some easy clickable wood flooring.

Next we took out those ribs (the van came with them) and start on the walls.

Installed the insulation. That's just tucked in nice and tight.

Another view. (It was really hot!)

Next the ribs go back in and we start on the walls.

We used a very thin wood.

See how the walls are curved? Those thin wood planks bend just right.

Looking good.
Next the bed frame.
We ultimately decided to go with a stationary frame. Lots of storage underneath.
We plan to load up all the camping gear so it's ready to go at any time.
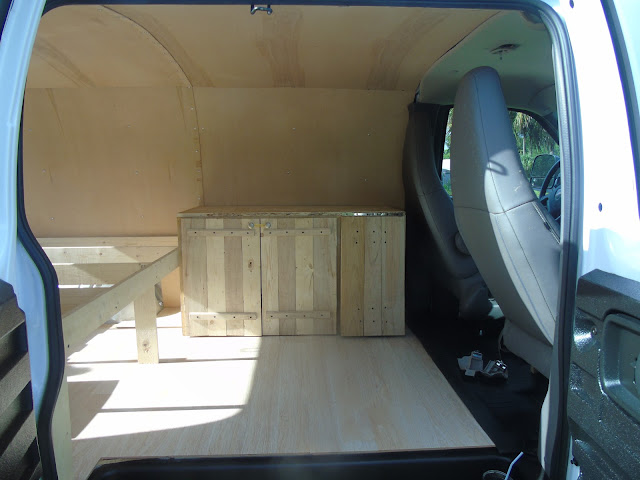
Mike made these cabinets.
And he even added a fold out table.

Next the mattress.
This is actually 2 memory foam Queen mattress toppers.

Instead of cutting them we decided to just fold them up for now.
That may change later.

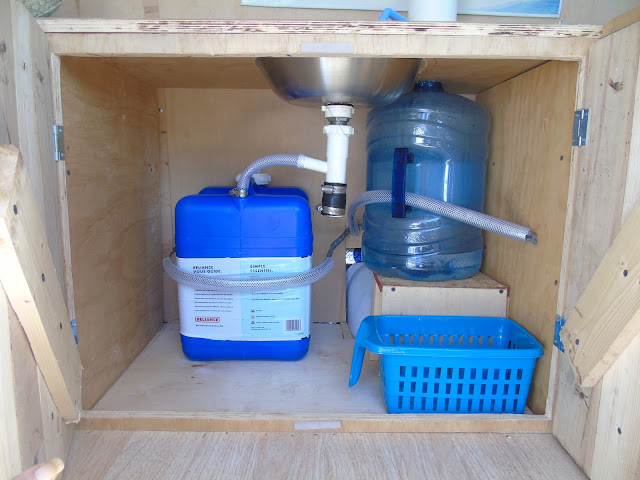
The sink:
That's is actually a grill basting cover, upside down with the handle removed. Mike cut a hole and installed a bathroom sink assembly.
The water pump is just a manual pump connected to a regular water cooler bottle below.

Grey water out on the left and fresh water in on the right.

Now to create some window coverings.
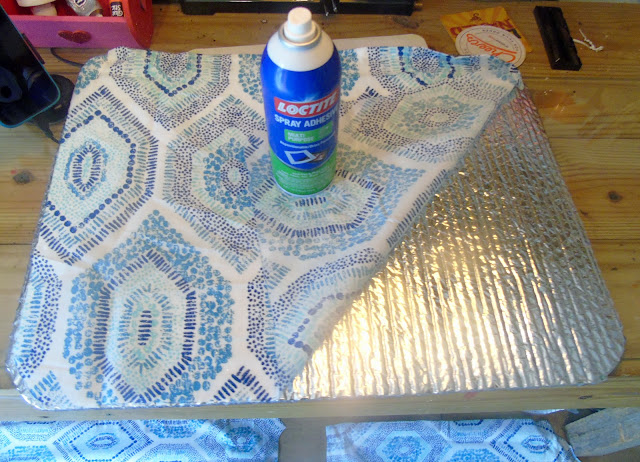
I used Reflectix insulation cut to fit just inside the window frame and used spray adhesive to attach the material.

I used some good Gorilla tape all around the edges to seal it.

This is what it looks like on the back windows.

This is what it look like from the outside.

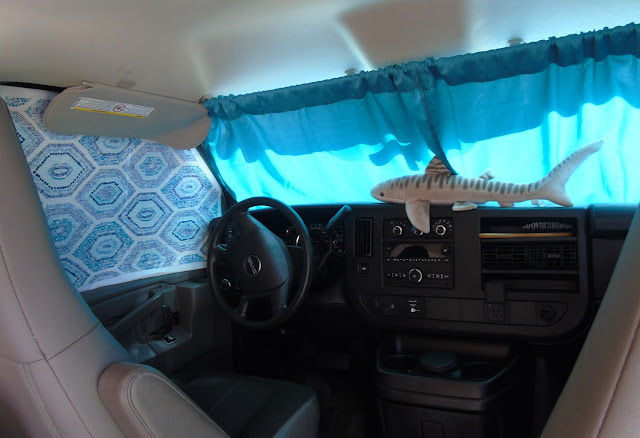
The front coverings.
Some do not fit really well but I have some sticky velcro strips to add as needed.

This is just a curtain cut to size. We sewed in PVC pipe on the ends to hold them against the front (not shown) and the rod is just balanced/wedged in on the visors.
We are done with Phase 1.
Here are some shots just to see the finished product.
More to come later I'm sure.


